


I love educating people on natural skincare, sharing empowering, results-oriented tips. Even though my doors are closed due to quarantine, I’m here to guide you in giving yourself the best at-home facial.
You know professional facials are an essential key to healthy, glowing skin. By regularly performing an at-home facial you can continue the benefits and support to your skin health. Even out the look of your skin tone, and cleanse it properly to experience overall rejuvenation. Giving yourself a facial is a gorgeous form of self-love too (and a great way to get to know your skin). Here are some examples and guidance. Try this 10-15 minute morning or add to your weekend self-care plans. A mini-facial to rejuvenate and renew your skin and feel great all day and week long.
STEP 1
PRO TIP: Before beginning your cleansing—Use a WARM/HOT TOWEL compress on the face. Soak the towel in a bowl full of hot water and add 1-2 drops of Lavender or 1 drop of Eucalyptus. Ring out excess water and hold the towel against your face. Pushing and pressing under the jaw and cheeks, temples begin increasing circulation, and blood flow and warm up the tissue.
Cleanse with GENTLE CLEANSE. Apply to skin dry. Add a drop of water for the slip. Massage the face for at least 30-60 seconds. Leave the cleanser on and continue to step 2.
STEP 2
Use The Fascia Sculpting Plate or Beloved Beauty Birdy—our sonic GuaSha device. Glide over the face with gentle strokes. The sliding “scraping” motion will smooth the tension and brighten up the complexion. Begin at the nape ( left side first) and continue with upward strokes following facial contours ending at the forehead and temples. Repeat 3-5 times on each side! After the movements are done. Rinse the face.
PRO TIP: For extra healing, and relaxation, use the fascia sculpting plate warm and use the heating component of Beauty Birdy to release more tension. For inflammation reduction, place the sculpting plate in the refrigerator or on ice. The beauty tool is naturally cold, but this extra temperature drop will aid in your efforts to increase circulation, drain congested lymph nodes, rid the body of toxins/waste, stimulate collagen production, and help with sinus issues. Hold it longer in places of concern. Performing the full movement on one side only at a time will show you the big difference in the power of this tool and method.
STEP 3
On clean damp skin apply CLAY GEL PACK – this formulation has a deep cleansing function, as well as anti-inflammatory and brightening properties. Dissolve in water to make a paste. Apply like a mask and leave on for up to 1 minute only! Rinse off.
PRO TIP: NEVER LET ANY CLAY MASK DRY OUT COMPLETELY! Reminder: Clay has healing, and extracting properties but can also be very drying (depending on the clay/product) If you are already dry you want to enhance hydration and the moisture levels in the skin! Hydrated skin looks brighter and younger!
STEP 4
Apply either the Micro-Peel Program follow instructions then the CALM MOIST PACK. Leave for 15-20 minutes. Elevating the moisture balance in the skin.
STEP 5
APPLY THE FREEZE-DRIED COLLAGEN PRE-CARE ESSENCE Massage lightly and PRESS PRESS PRESS.
PRO TIP: Make sure to drop extra serum of Precare-C in troubled spots and don’t forget the nose. This is a typical area where you can develop blackheads. This works incredibly well to reduce and diminish blackheads over time.
STEP 6
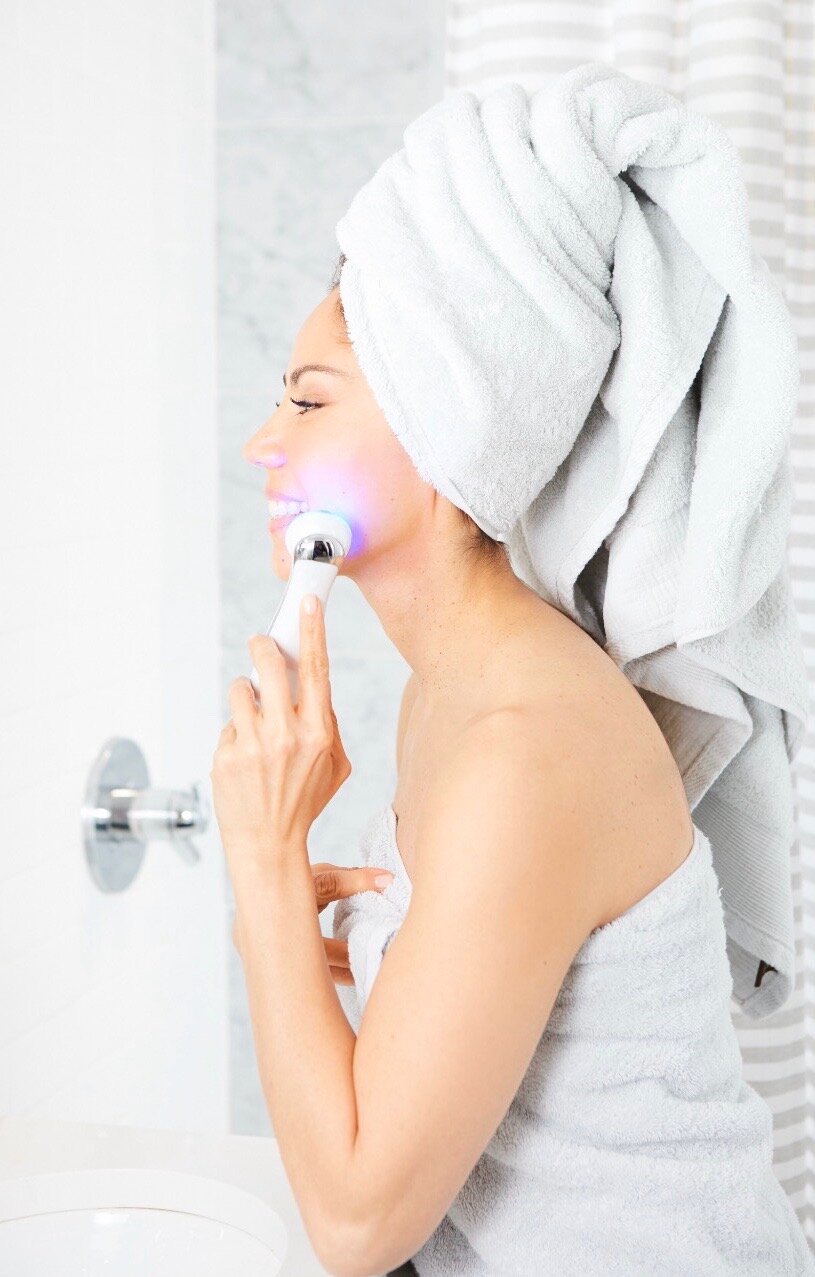
Apply CAVIPLLA— this is the perfect conductivity medium or this Collagen Gel works great to use with your at-home beauty microcurrent device. This potent serum is formulated with a cutting-edge oxygen delivery system. This oxygenation causes the serum to bubble up on the skin, leading to deeper product penetration. Skin emerges tighter, brighter, and fills in fine lines on its own.
PRO TIP: DO NOT USE ANY OIL BASE PRODUCT!! THIS WILL ACT AS A BARRIER.
With any electrode beauty device using a water-gel base product as a conductor makes for enhanced results. Devices are made to allow currents to penetrate the muscle where they can tone and tighten for contouring benefits. Without the gel, you’ll get tiny electrical shocks that are not comfortable) If you run out of Cavippla— you can use Aloe Vera Gel but not in the order I’ve described here. The aloe will leave the skin a bit sticky so you want to rinse off and if you continue with the regimen it won’t blend or be aesthetically pleasing.
Now you’re ready to seal the deal! LOCK in moisture and benefit from all these amazing ingredients and enhancements.
STEP 7
Finish with Hevatox Firming Pads, and swipe the pad gently all over the face and neck. Leave ingredients on.. wait a few seconds and then apply the HYDRATING TONIC Apply 1-2 pumps on your hand and massage and press into the skin!
Apply the Hevatox Gold Ampoule Serum. This serum keeps your skin hydrated and glowing all day long.
a)Apply ReCharge Wrinkle Serum Around the eye area and PRESS until it disappears into the skin. Target other areas of deep concern.
b)followed by the NOURISHING GEL to seal all that goodness and moisture in.
PRO TIP: REMINDER OIL AND WATER DON’T MIX! You can impede the action of other active ingredients —especially after Precare Essence C!! If you are thinking of introducing and layering your favorite face oil. APPLY IT LAST AFTER THIS ROUTINE
STEP 8
Spray the STEM CELL MIST to increase penetration and cool the skin.
STEP 9 (optional)
APPLY GEL FOUNDATION – AND one more spay of Stem Cell Mist! et, voila


Comments +